DIGITAL IMPLANT PLANNING & SURGICAL GUIDE SERVICES
Plan the outcome. Guide the execution.
Begin with the smile you intend to restore. Image3DConversion helps coordinate the aesthetic and prosthetic objective with function, biology, anatomy, implant planning, guide design and the approved route to delivery. Your treatment plan remains under your approval at every critical stage.
Already onboarded? Sign in to the Case Portal.
Services are provided to dental professionals and authorised workflow partners.
Start with the smile
Start with the smile you intend to restore.
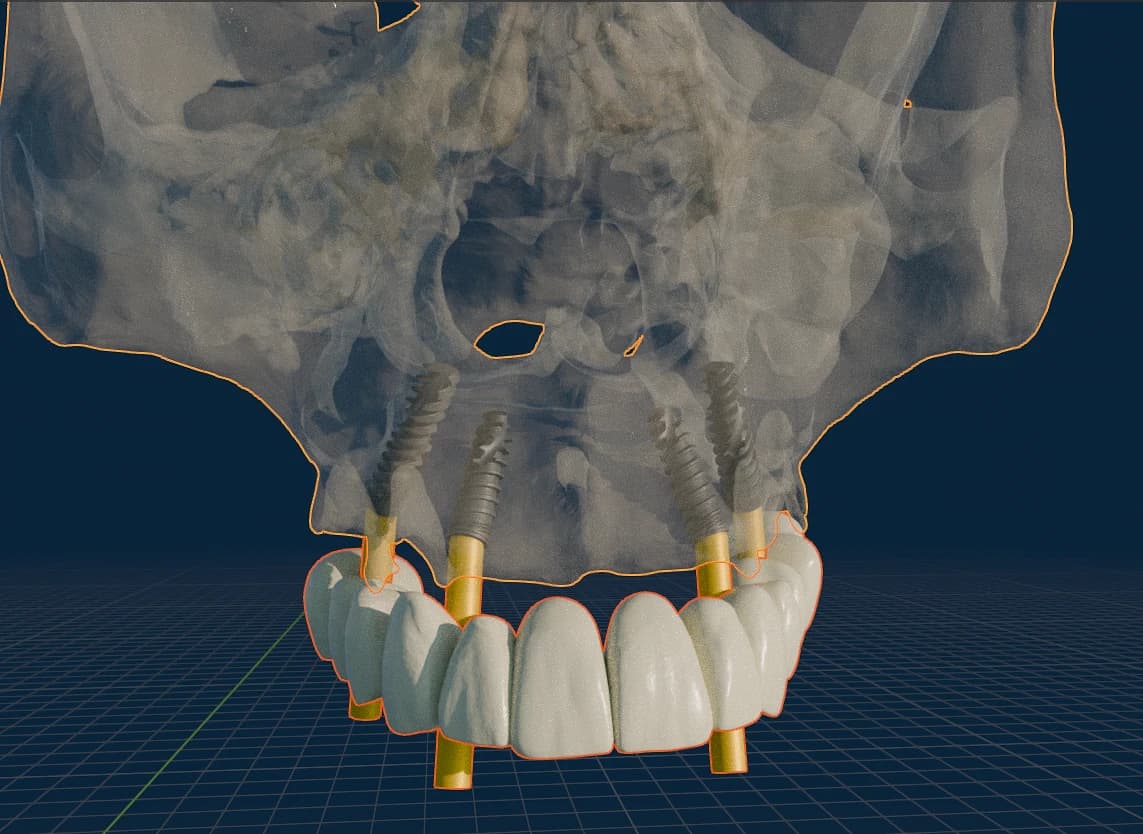
The smile establishes the destination. Tooth position, proportion, display, lip support and prosthetic form shape the aesthetic objective. Function, occlusion, biology and available anatomy then determine how that objective can be supported responsibly.
- 1Smile and facial reference
- 2Aesthetic and prosthetic setup
- 3Function and biology
- 4Anatomy and implant plan
- 5Guided execution
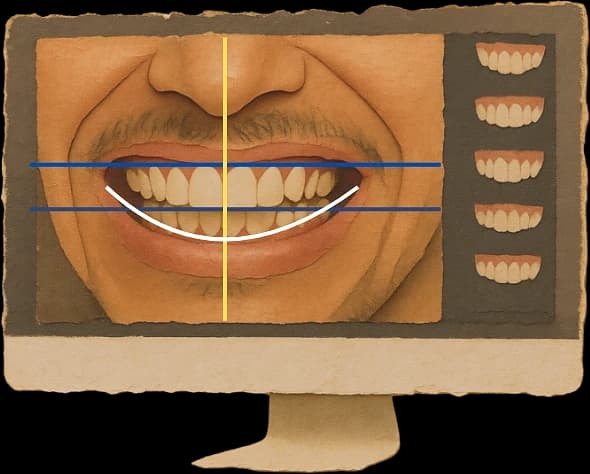
The aesthetic objective is defined first, then supported by function, biology and anatomy — not the other way around.
Choose the workflow your case needs.
Start with the clinical situation. We will show you the records, planning path and deliverables that belong together.
- Guided implant plan
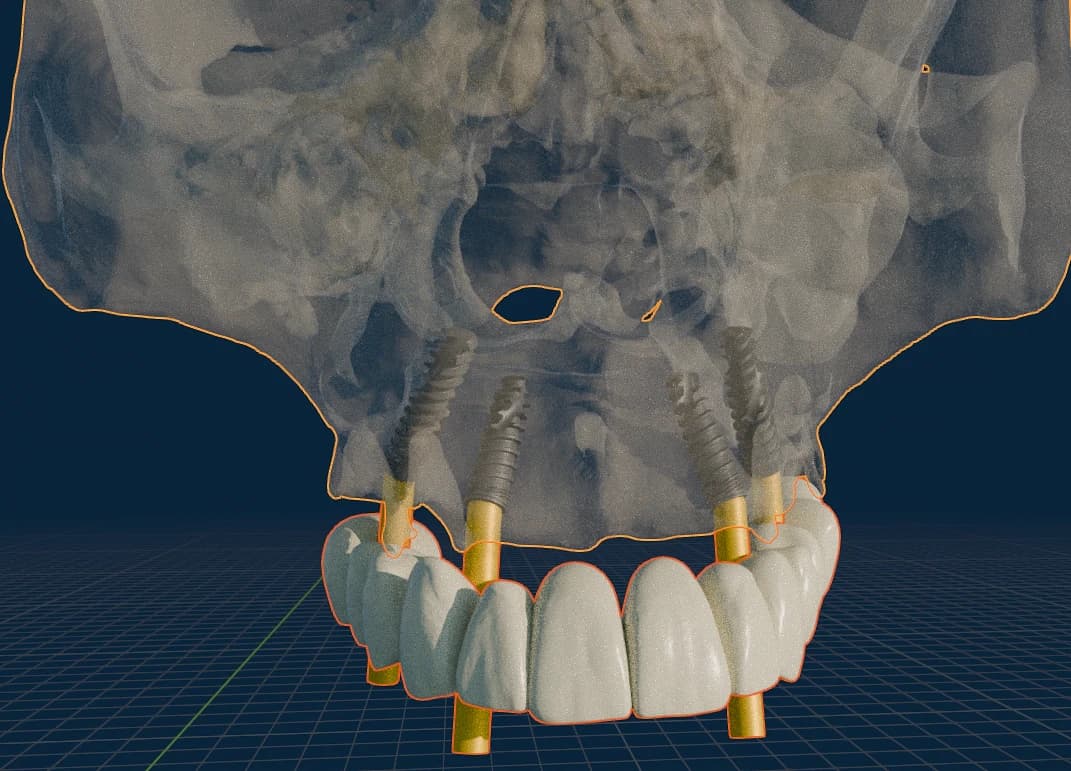
Guided Implant Workflow
Restoration-led planning and surgical guide support for single and multiple implant cases.
Explore the Guided Implant Workflow - Full-arch stackable sequence
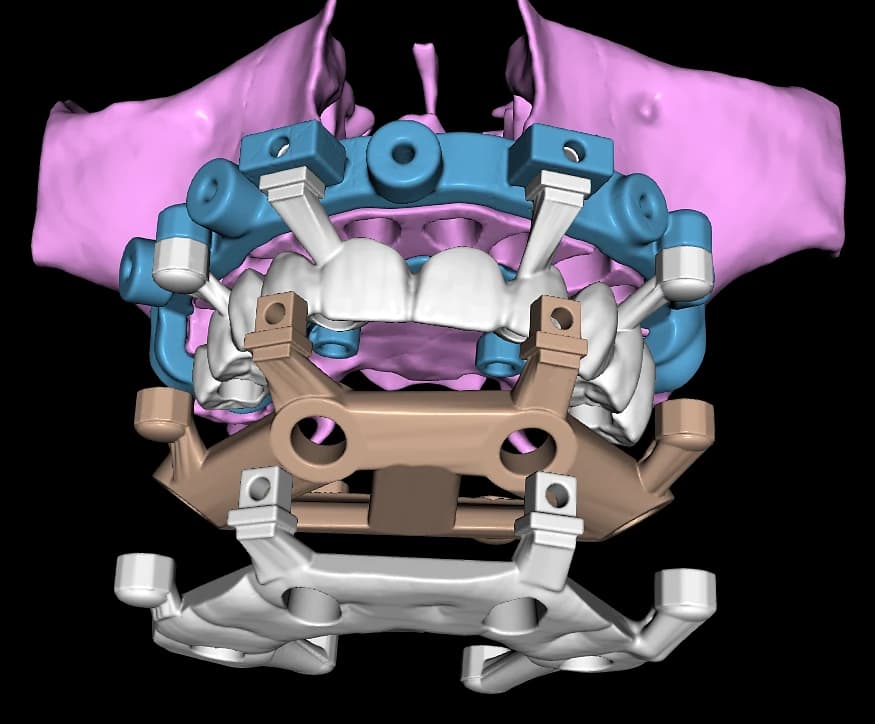
Full-Arch Stackable Workflow
A coordinated sequence for bone reduction, implant placement, MUA positioning and provisional delivery.
Explore the Full-Arch Stackable Workflow - Anatomy & trajectory review
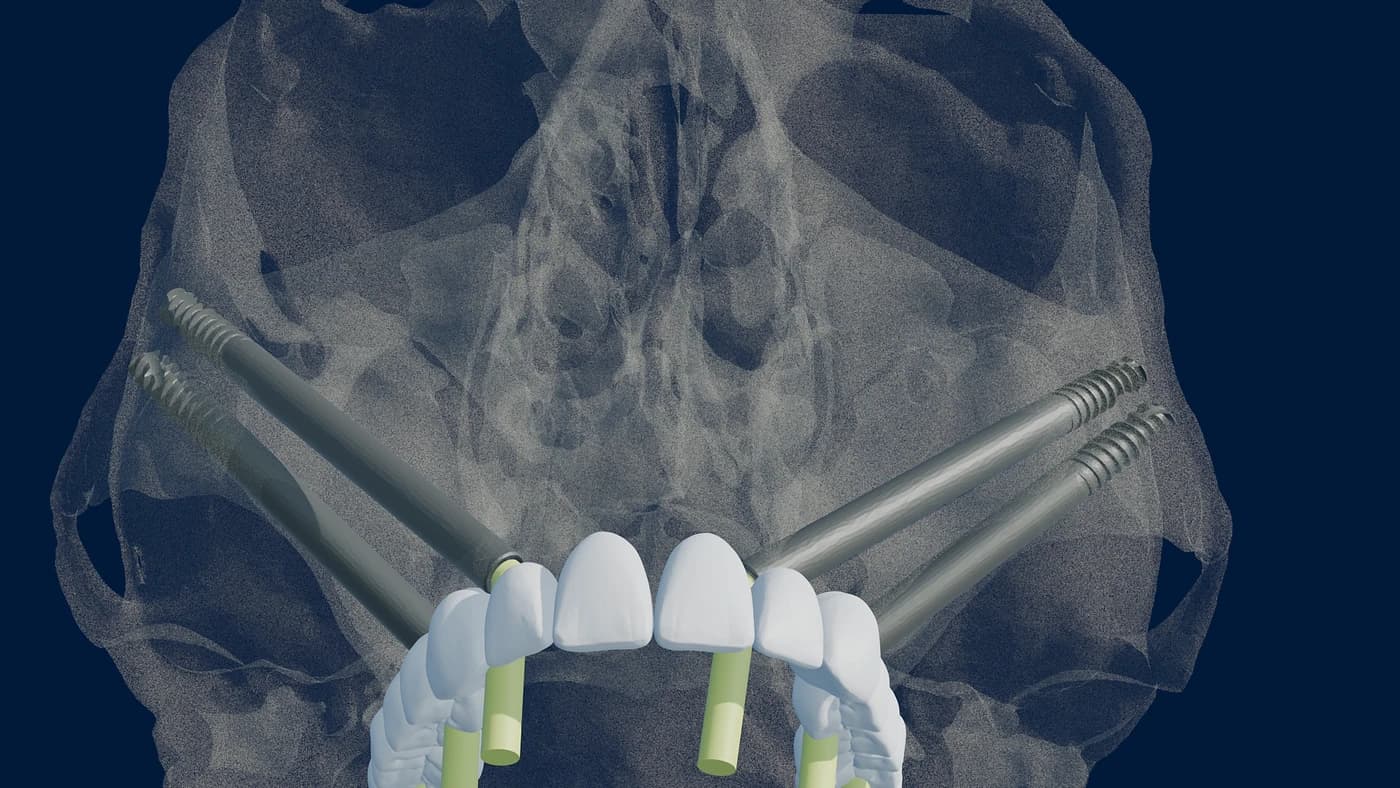
Zygoma & Pterygoid Planning
Advanced planning support where anatomy, implant trajectory and prosthetic intent must be reviewed together.
Review Zygoma & Pterygoid Planning - Plan · guide · provisional
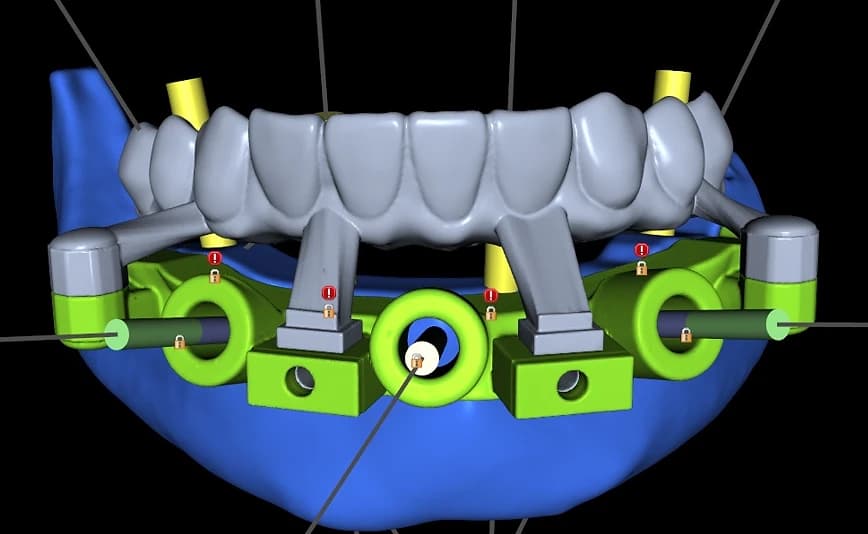
Immediate-Loading Workflow
Align the approved plan, guide and provisional reference before the surgical appointment.
Review the Immediate-Loading Workflow
The guide is one part of the workflow.
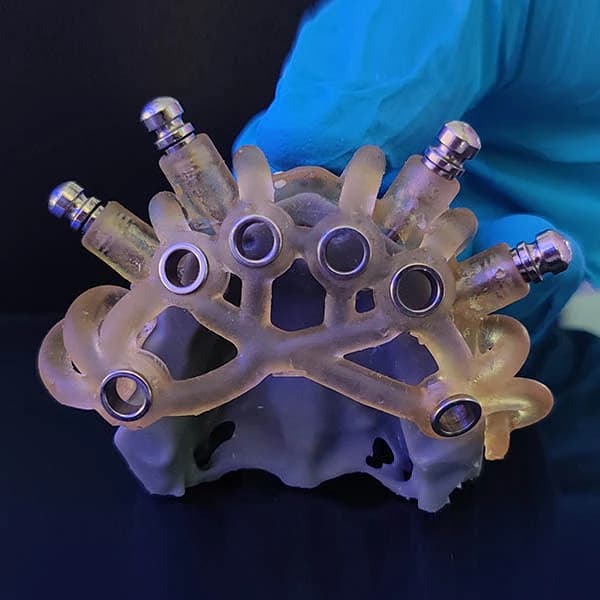
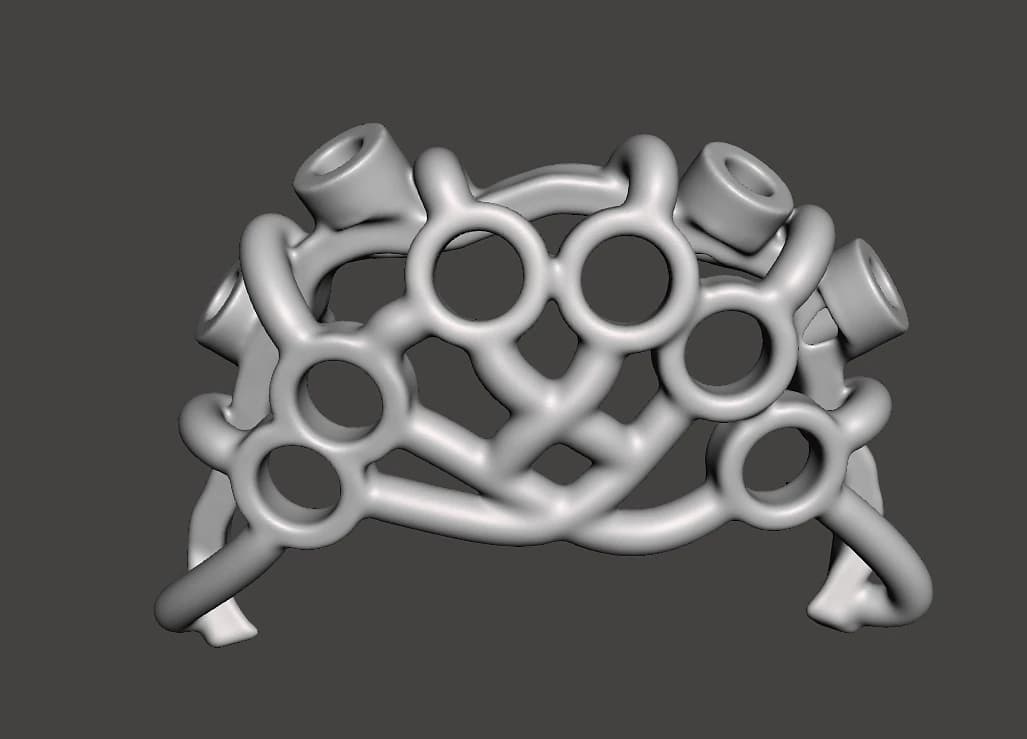
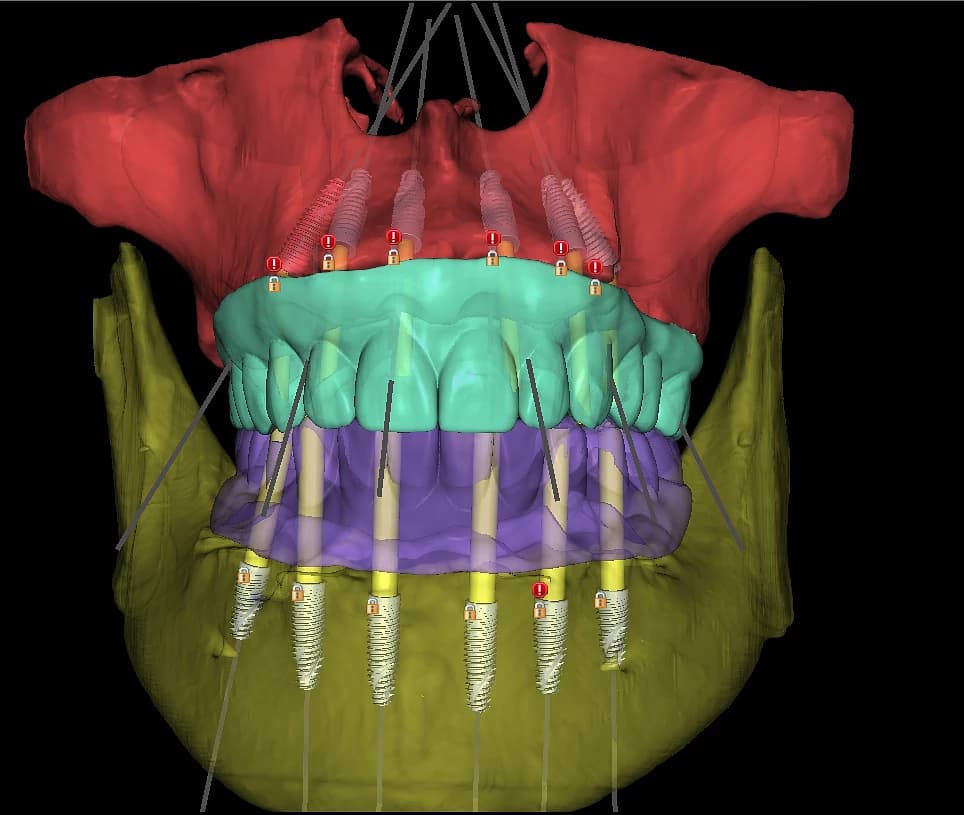
A usable guide begins before guide design. The patient data must align. The planned restoration must be visible. The implant system and drilling protocol must be confirmed. The clinician must review the plan. We coordinate those steps before production begins.
- 1Planned restoration
- 2Anatomy and scan data
- 3Implant / component plan
- 4Guide / provisional design
- 5Approved delivery
The guide is the last step, not the point.
One case. Five visible steps.
- 01
Submit securely
Invited practices submit the prescription and required case records inside the authenticated Case Portal. Access is by invitation, and we review every request.
- 02
Validate the data
We check file completeness, scan alignment and the information needed for the selected workflow.
- 03
Review the plan
The proposed plan and relevant references are shared for clinician review.
- 04
Approve production
Production begins only after the required approval and scope confirmation.
- 05
Track delivery
Follow the case status and receive files, dispatch details or completion information in one place.
The treating clinician remains responsible for diagnosis, treatment decisions and final approval.
Choose how much support your practice needs.
Design Only
Planning and ready-to-print files for teams with a validated local production workflow.
Design to Delivery
Planning, design, production coordination and delivery managed through one case.
White-Label Workflow Partnership
Specialist workflow capacity for laboratories, practice groups, implant companies and international partners.
Built to work with practices across borders.
Use Image3DConversion as a design partner for validated local production, coordinate design and delivery through one case, or establish a white-label workflow for a practice group, laboratory or implant partner.
Review without geography
Versioned plans, named questions and recorded approvals allow clinical and technical teams to review the same case without sharing one location.
Choose the production route
Use ready-to-produce files with a validated local workflow or select coordinated production and delivery where the confirmed service scope supports it.
Know the responsibility split
File preparation, clinical decisions, design, manufacturing checks, shipping and local verification are assigned before work begins.
Bring us the cases that need more than a template.
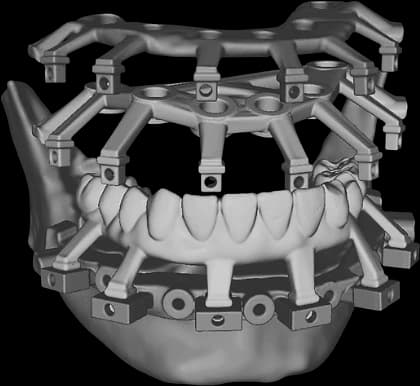
A full-arch case is not a collection of products. It is one sequence.
Full-arch, immediate-loading, pterygoid and zygomatic cases involve more than implant coordinates. They require a shared understanding of the restorative goal, support strategy, surgical sequence and approval points.
- 1Pin fixation
- 2Bone reduction
- 3Implant placement
- 4MUA positioning
- 5Prosthesis pickup
Discuss the workflow first if the scope is still being defined.
Who we are
A digital workflow team for guided implantology.
Image3DConversion coordinates the digital work that happens before surgery: restoration-led planning, implant and guide design, and the review and approval steps that keep the treating clinician in control. The dentist retains clinical authority; we manage the digital execution around the approved plan. As an India-based, remote-first workflow team, we support practices across India and international partner workflows.
Planning and design
Restoration-led implant planning, guide and provisional design across single, full-arch and advanced anchorage cases.
Review and approval
Versioned plans, recorded questions and documented approvals before anything moves to production.
Production coordination
Design-only files for your own workflow, or coordinated production and delivery where scope supports it.
A separate secure system
Real cases live in the Case Portal.
Case submission, data validation, plan review, approval and tracking happen inside the authenticated Case Portal — a separate secure environment. The public website explains the workflow; the portal runs it. No clinical files are uploaded on this website.
What you always know
- Where is my case?
- What is happening now?
- What do I need to do next?
Case status track
- Submitted
- Data check
- In planning
- Plan ready for review
- Approval required
- In production
- Dispatched / files ready
Send the right data before planning begins.
Requirements change by workflow. Review the DICOM, intraoral scan, bite, prosthetic reference, implant system and supporting records before you submit.
Do not email or place patient-identifying information in a public enquiry form. Clinical files are submitted only through the Case Portal.
Records reviewed before planning
- CBCT DICOM dataset
- Intraoral or model scans
- Bite record and prosthetic setup where relevant
- Clinical photographs for aesthetic and immediate-loading workflows
- Implant system, components and drill-kit information
- Case prescription, planned surgery date and delivery location
Ready when the case is.
The Case Portal is live for invited practices. Request an invitation, or discuss the case with the team first if the workflow is still being defined.